Introduction Link to heading
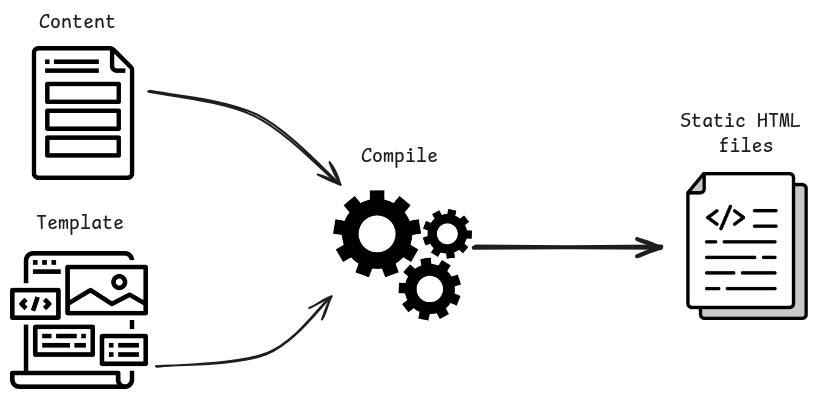
This site is built on top of pure HTML static pages. Such pages are very fast to load and are a very simple way to load web pages, which was how things worked (a long time ago…) before dynamic content managers like Wordpress. To modernize things a bit, I decided to use a static site generator that takes the site’s content and transforms it into static pages using some HTML structure templates.
It works similarly to the diagram below:
Among the many options available like Jekyll, Nuxtjs, and Astro, I decided to use Hugo. It is a very flexible open-source static site generation tool with several interesting features that met my expectations for this project.
Here I will provide a step-by-step guide on how to create a site with multiple pages, add a multi-language system, and create your first post.
Easy Difficulty Link to heading
Requirements Link to heading
- Basic knowledge of terminal, git, and GitHub
- Basic knowledge of HTML, CSS, and Javascript
- Install Visual Studio Code (recommended)
- Have or create a GitHub account
- Have or create a Cloudflare account (if you want to publish here)
1. Hugo Link to heading
You can explore Hugo’s amazing documentation here. Basically…
install hugo install git add a theme configure hugo.toml <– Hugo’s configuration file add content publish using Github Pages
1.2 Installing the necessary tools Link to heading
To start, you need to install Hugo with a version compatible with your operating system and production environment. For Debian, Ubuntu, and derivatives use sudo apt-get install hugo.
If the installation is successful, you can use the hugo version command in your favorite terminal. The response should be the installed application’s version:

Now install git, you can find appropriate instructions here. For Debian, Ubuntu, and derivatives use sudo apt-get install git.
If successful, the git version command will show the installed version:

1.3 Starting a project Link to heading
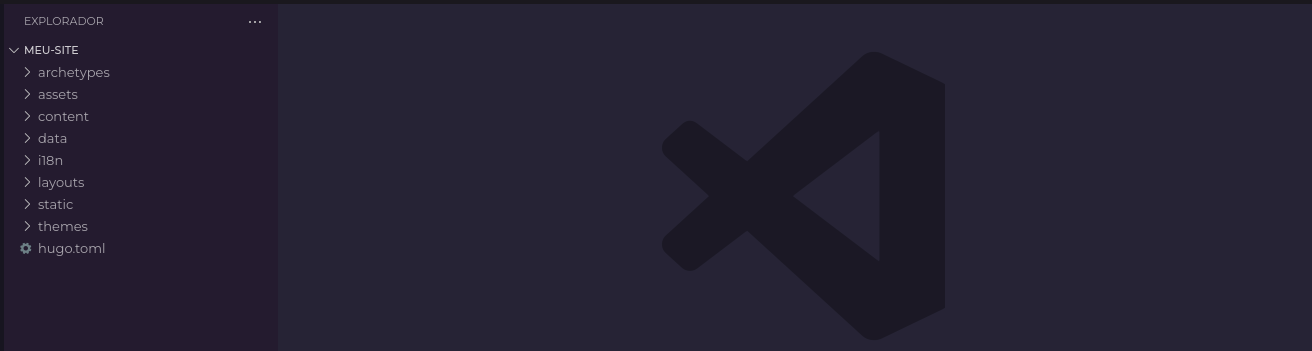
Creating a new site with Hugo is very simple, type hugo new site my-site.
This will create a folder with a file structure called “my-site”.
 Let’s enter it and start building! Use
 cd my-site to enter the folder.
Create a git repository in the folder with git init and you will have a project created and ready to push to Github.
1.4 Choosing a theme Link to heading
Now you would need to create the HTML, CSS, and Javascript templates that will shape your site.
However, Hugo has a gallery of themes already built by the community, you can see all of them here.
Let’s speed things up and use a theme called Hugo-coder. You can access the site and the repository of the theme to see how it works and check the documentation.
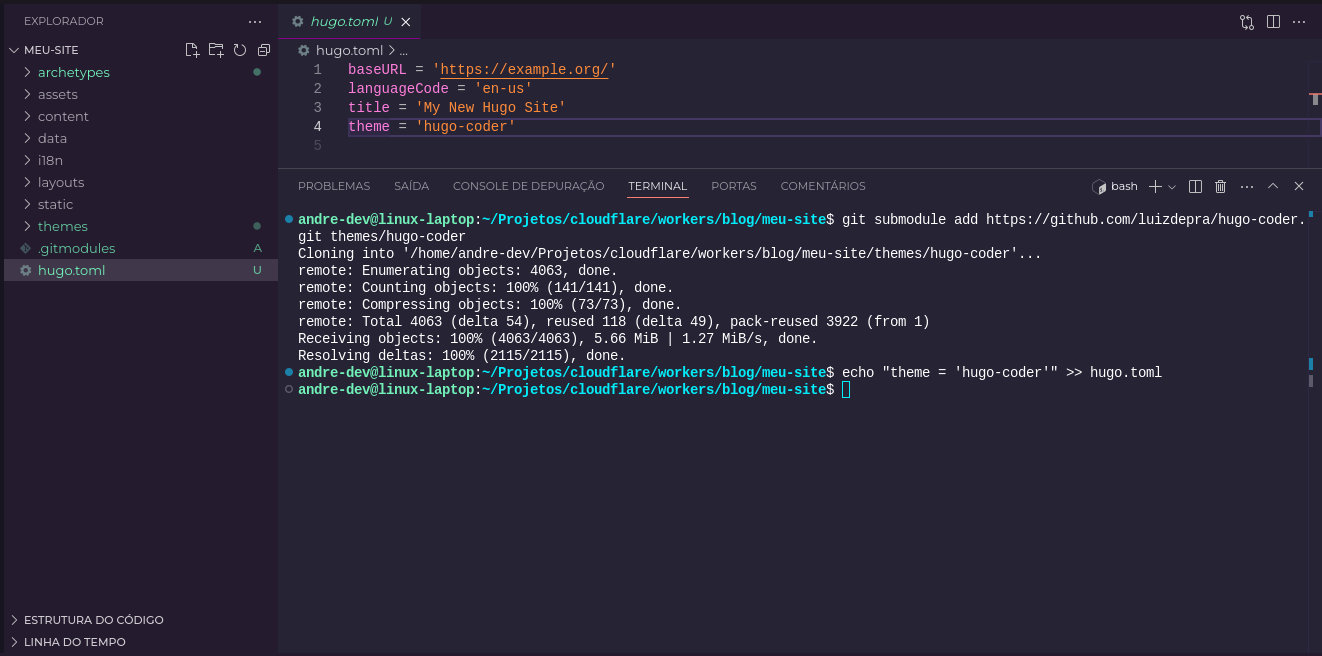
Add it as a submodule of the repository using git submodule add https://github.com/luizdepra/hugo-coder.git themes/hugo-coder.
To add it as the site’s theme, add the line theme = 'hugo-coder' to the “hugo.toml” file in your site’s folder or use the command echo "theme = 'hugo-coder'" >> hugo.toml to do it automatically.
1.5 Starting the created site Link to heading
After all this configuration, let’s start the test server for the first time!
Type hugo server to start.
The Hugo server publishes your changes automatically when there are edits.
This will generate a new folder called “public” in your site’s folder. Inside it are all the static pages that will be used on the site.
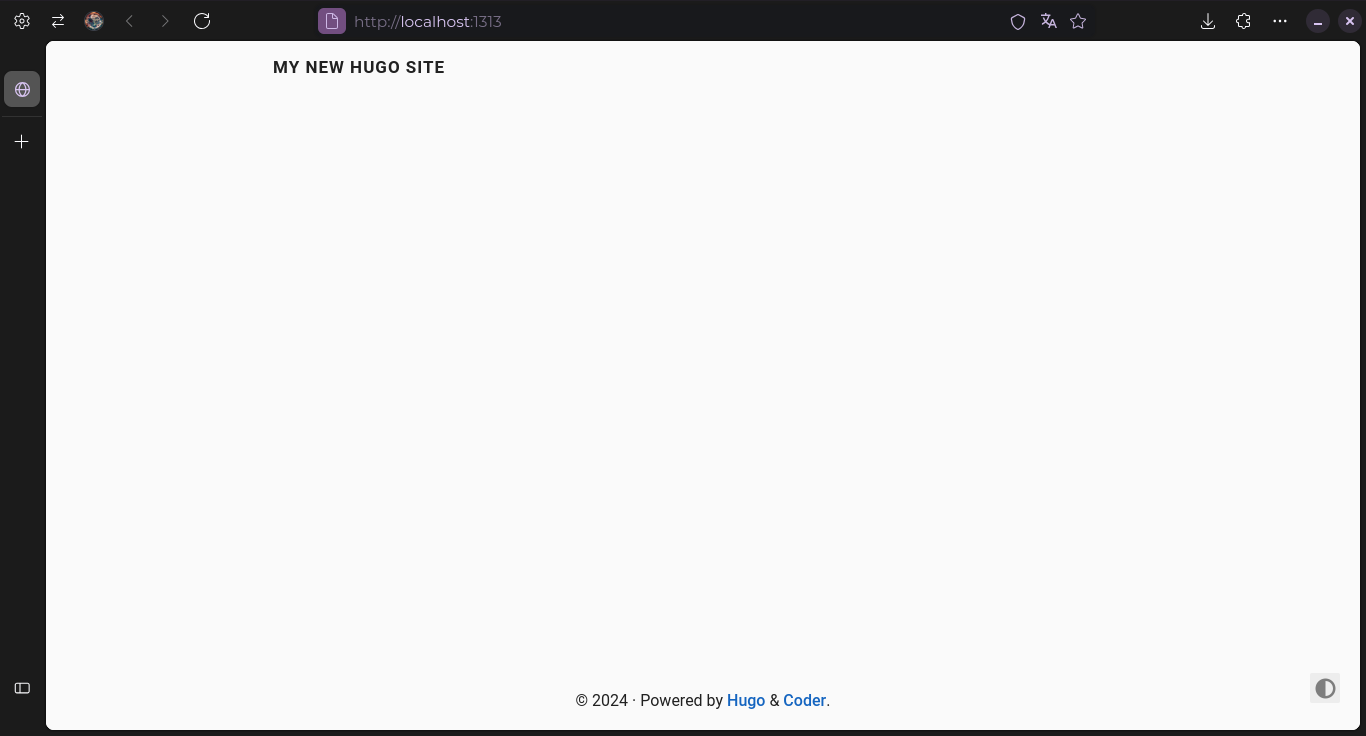
The result of the command will be something like this:

You can enter the URL http://localhost:1313 to see your new site!
 To stop you can use ‘CTRL + C’ in the terminal.
2. Adding content Link to heading
It’s pretty dull here, we need to add more content…
To add a post to the site, run the command hugo new content posts/my-first-post.md. This will create a new file inside content/posts called my-first-post.md
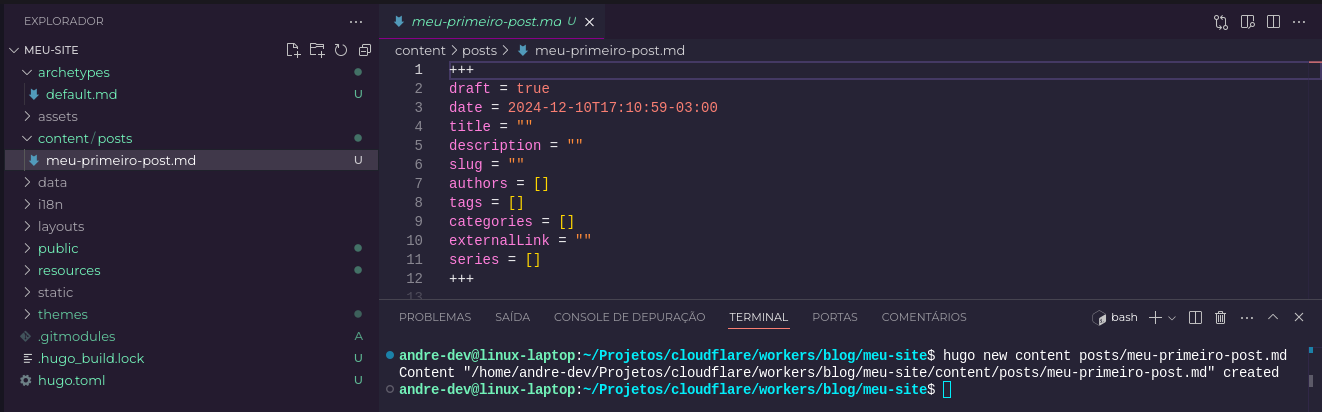
Modify the values in "" of the title, description, and authors fields to add the title, description, and authorship of this post. Write a title with ## and below write the text.
The draft = true field makes the post considered a draft and not rendered when generating the server. Use hugo server -D to start rendering drafts.
To create a translated content page, use the same command and add a .<LANGUAGE> to the file name. For example, use .pt-br to create the content in Portuguese, like this: hugo new content posts/my-first-post.pt-br.md.
Use the slug = "" parameter to translate the post URL as well.
2.1 Additional editing suggestions Link to heading
To customize content on the homepage, navigation bar, language, among others, we can modify the hugo.toml.
Page settings Link to heading
baseURL = 'https://example.org/'
title = 'My Hugo Site'
theme = 'hugo-coder'

defaultContentLanguage = "en"

[pagination]
pagerSize = 6
Add some items to the home screen Link to heading
[languages.en.params]
author = "John Doe"
description = "John's personal blog"
keywords = "blog,developer,personal"
info = ["Front-end developer"]

[languages.pt-br.params]
author = "João Ninguém"
info = "Desenvolvedor front-end"
description = "Site pessoal de João"
keywords = "blog,desenvolvedor,pessoal"
Change site defaults based on language Link to heading
[languages.en]
languageName = "EN"
dateFormat = "January 2, 2006"

[languages.pt-br]
title = 'Meu Hugo Site'
languageName = "BR"
dateFormat = "2 de Janeiro 2006"
Create items in the navigation bar Link to heading
[[languages.en.menu.main]]
name = "Home"
weight = 1
url = "/"

[[languages.en.menu.main]]
name = "Blog"
weight = 2
url = "posts/"

[[languages.en.menu.main]]
name = "About"
weight = 3
url = "about/"

[[languages.pt-br.menu.main]]
name = "Início"
weight = 1
url = "/"

[[languages.pt-br.menu.main]]
name = "Blog"
weight = 2
url = "blog/"

[[languages.en.menu.main]]
name = "Sobre"
weight = 3
url = "sobre/"
Now let’s publish Link to heading
To publish, we will create a repository on Github and push our changes. You can manually upload the files to the repository on the Github site, use the command line, or use Github integration through VSCode. Push the repository to Github.
GitHub Pages Link to heading
Cloudflare Pages Link to heading
// Under Construction //